Your mix of components is one of the most important choices in your candle-making journey. It could make or break your candle from the get-go… And it can be tricky figuring out how waxes, fragrances, wicks and vessels work together. So, we’ve made it easy. To pick complementary components that will increase your chances of candle success, simply answer our questionnaire below!
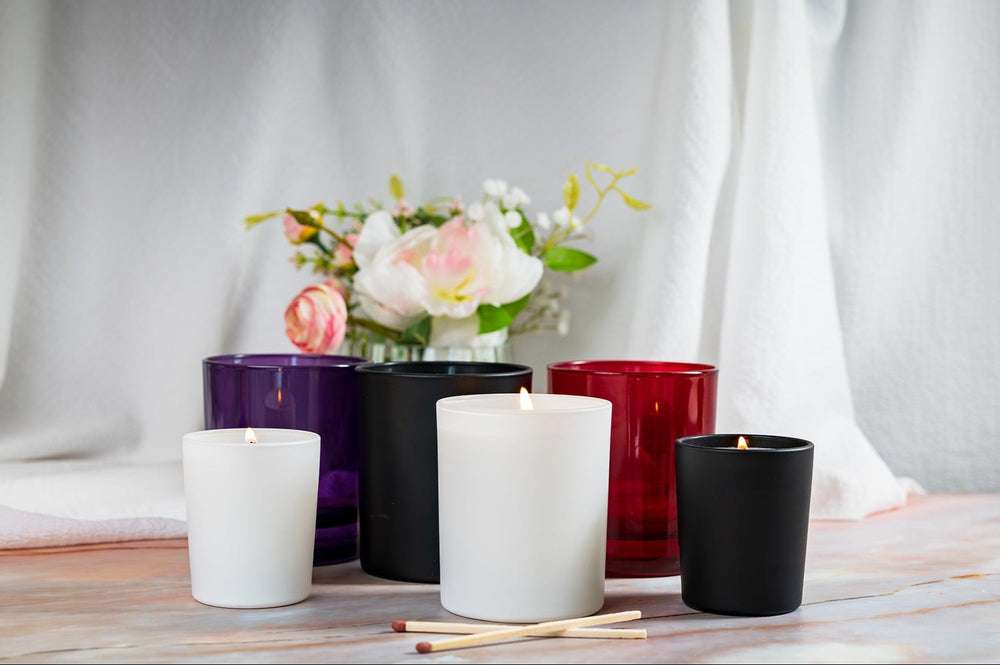
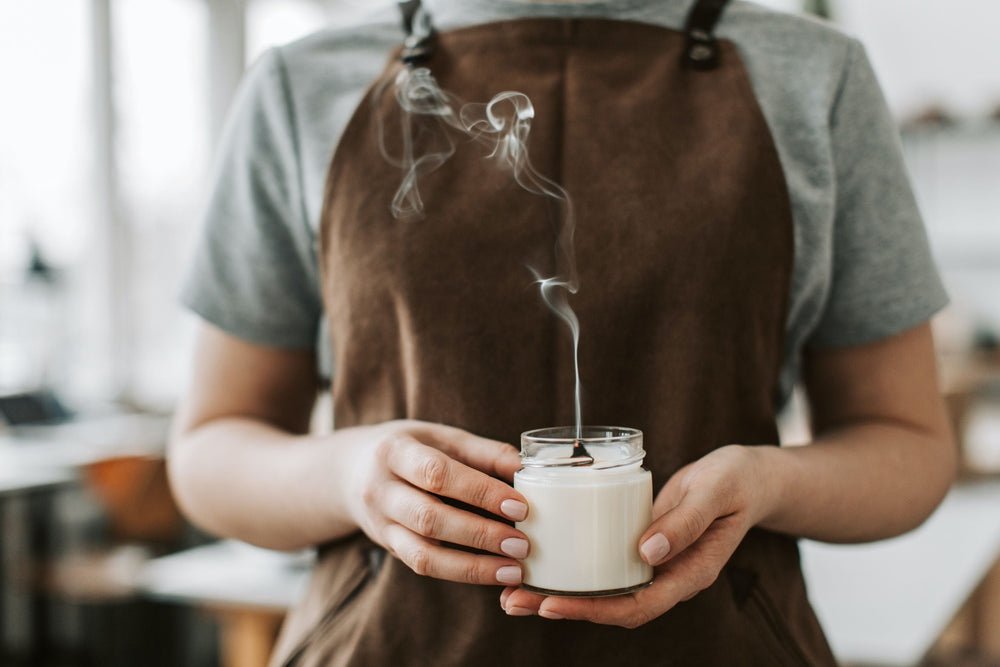
Just started making candles and looking for guidance? Are your candles not quite performing as they should?
Whether its How to Make a Container Candle, Getting the Best Out of Your Wax or Troubleshooting - you’re in the right place. Candle Shack’s experts in all things container candles have distilled their decade of knowledge and experience in the candle industry into one helpful advice page. This is specially designed to help you make safe candles that smell as beautiful as they look so that you can have fun creating successful scented masterpieces!
How to make a container candle
Step 1: Choose your components
Step 2: Prepare your worktop
Before getting started, make sure you prepare your worktop. First pick a flat horizontal surface to work on, making sure it is clean, dry and clear. If possible, we would recommend working at an ambient temperature of 18 to 25°C in a well-ventilated area and to close all doors and windows to avoid variations in temperature. Now that your worktop is ready, gather all your components and weigh them ahead of time.
Step 3: Prepare your vessel
Unpack your vessels and leave them on your worktop until they reach ambient temperature. If using CS1, warm your jars by putting them in the oven at 40°C for 5 to 10 minutes. Once warmed, clean your vessel using a soft cloth to remove any dust, dirt or finger prints.
Using a wick press and adhesive pad, attach your wick centrally to the base of your vessel. Then affix the top of your wick to a wick claw or our three jar wick centering tool to keep it centered and straight. If using a wood wick, attach a wick pad to your sustainer before sticking it to the centre of your vessel then slide your wood wick into your sustainer.
Step 4: Prepare your dye (optional)
Using a Chandler & Me Candle Maker or a double boiler at 75 to 80°C, melt your dye while stirring continuously until liquid. Some dyes - particularly yellows - will melt at higher temperatures than others so be sure to keep stirring and gradually increase the temperature until your dye is fully liquid.
Step 5: Melt your wax
Bring your Chandler & Me Candle Maker or double boiler to your wax’s specific melt temperature (this can be found on the wax’s product page), then add your wax. Stir continuously until your wax is completely melted and has fully combined with your dye, if using.
Step 6: Add your fragrance
Bring your Chandler & Me Candle Maker or double boiler to your wax’s recommended temperature of fragrance addition, which can be found on the wax’s product page. Add your fragrance to your melted wax and stir until homogeneous.
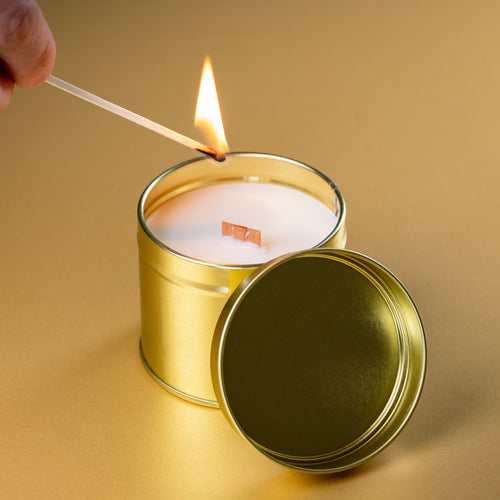
Step 7: Pour your fragranced wax
Bring your fragranced wax to your wax’s recommended pouring temperature, this can be found on your wax’s product page. Once at the correct temperature, slowly pour your mixture in your prepared vessels.
Avoid pouring the wax to the top of the vessel. The distance to leave between the top of your vessel and the surface of your mixture will ultimately be an aesthetic decision based on your personal taste. As a rule of thumb, however, we would recommend leaving 10mm distance for a 30cl vessel.
If using RCX, 464, S41 or CS1, you can heat the surface with a heat gun or do a top-up pour once the candle has started to solidify to get a clean finish. This should be done as soon as possible after the fragranced wax has set.
Step 8: Let your candle cure and trim your wick
Once your candles are solid, remove the wick claw or wick centering tool and trim your wick to 5mm from the surface of the wax. Leave your candles to cure for 48 hours in a room without draughts at an ambient temperature of 18 to 25°C.
Products FIND WHAT YOU NEED
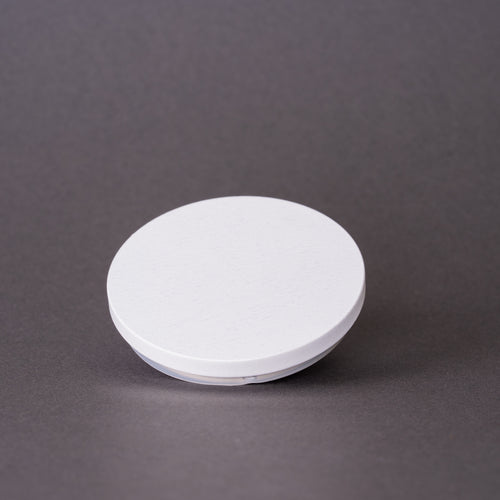
Candle Jars
Candle Lids
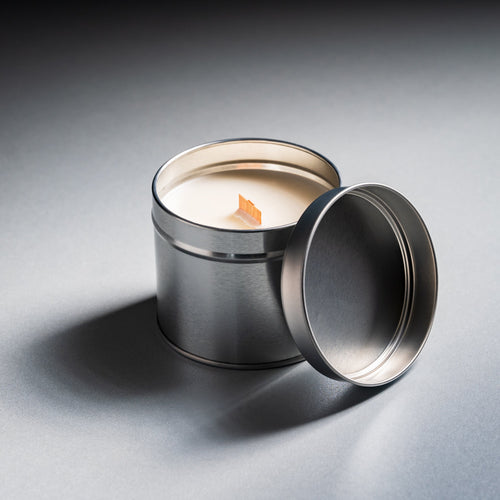
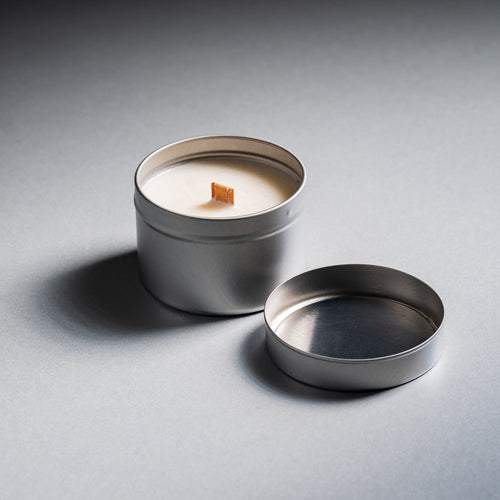
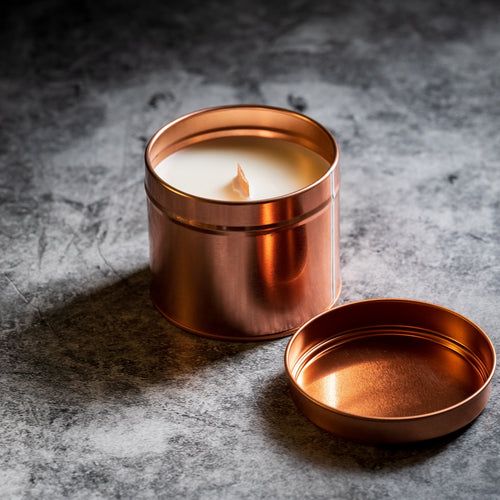
Candle Tins
Candle Wax

30cl Lotti Candle Jar- Clear
From 6,60 €
exc. VAT

30cl Lotti Candle Jar - Amber
From 12,37 €
exc. VAT

30cl Lotti Candle Jar - White Matt
From 12,37 €
exc. VAT

30cl Lotti Candle Jar - Black Matt
From 12,37 €
exc. VAT

Getting The Best Out Of Your Wax
Choosing the right wax for your container candles is a big decision and it's only half the battle. To get the best results out of your chosen wax, you need to know how to use it. But worry not, your trusted Candle Shack team has already done the hard work for you and prepared usage recommendations including temperatures and which wicks to use to get your started with confidence. Simply visit the product page of your chosen wax and discover our experts' usage advice.
Troubleshooting container candles
Are your candles not looking or performing quite as you’d like them to be? We’re here to help. Candle Shack’s laboratory of expert chandlers has put together their best tips and tricks to help you understand and overcome candle-making’s most common issues.
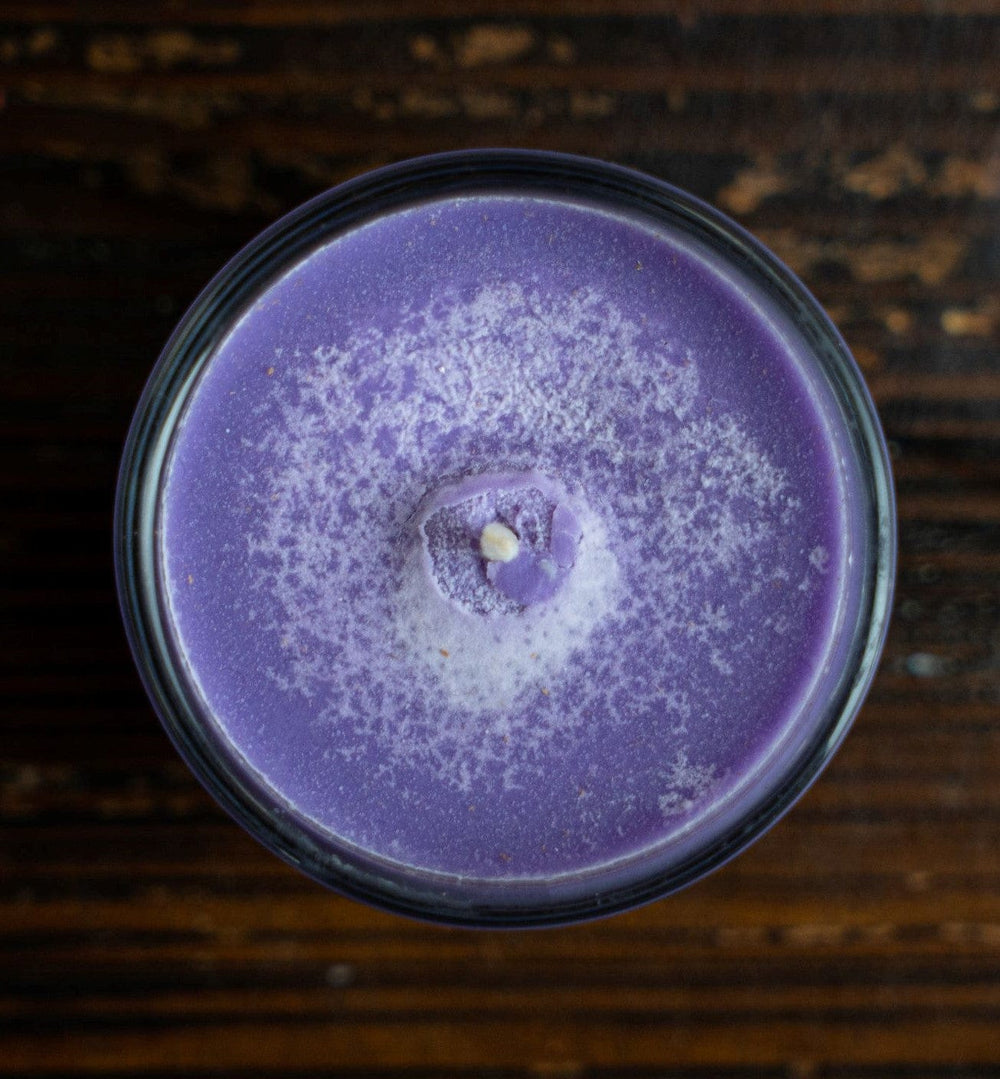
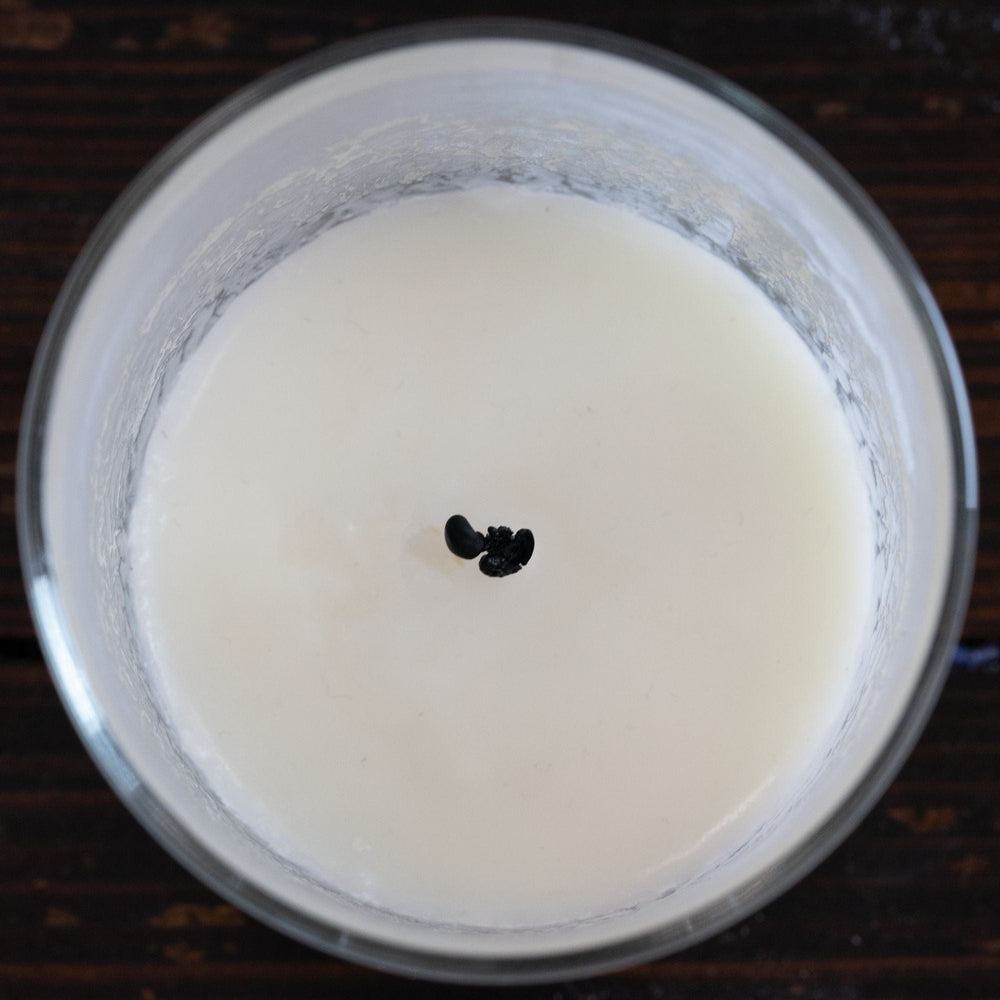
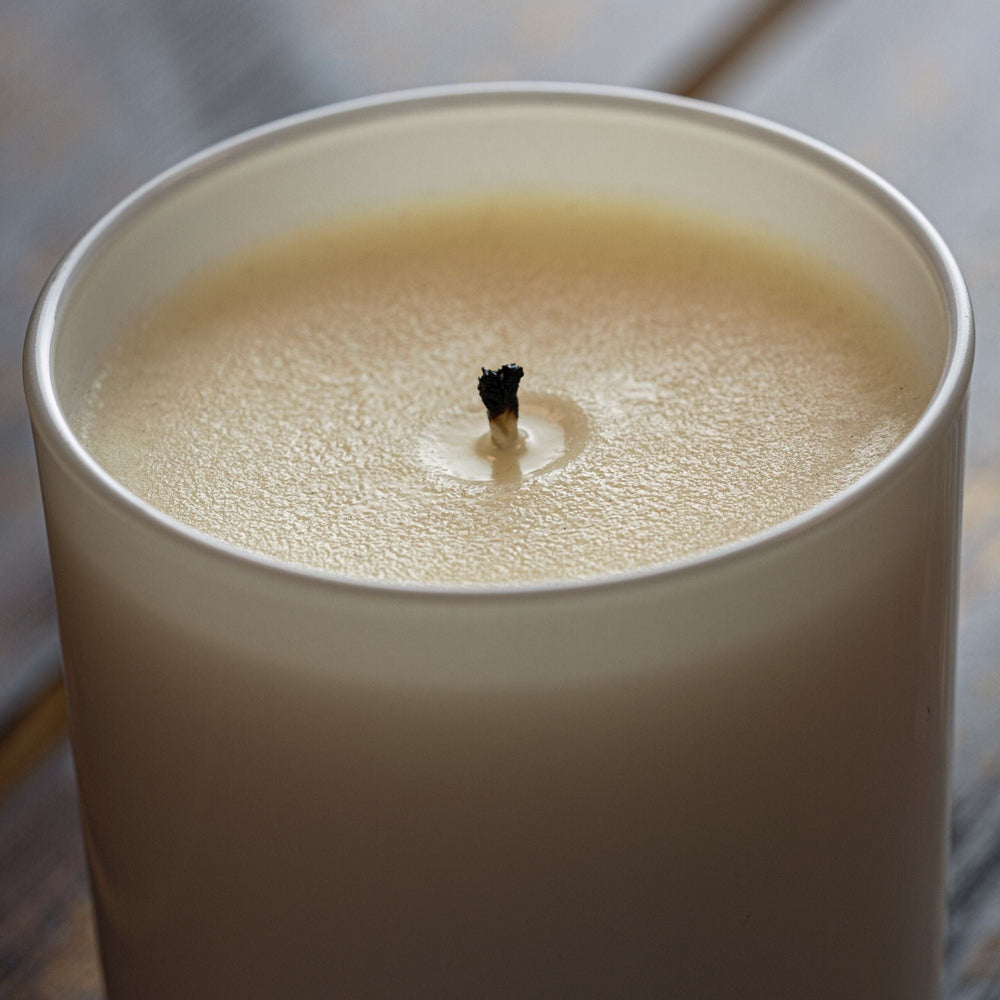
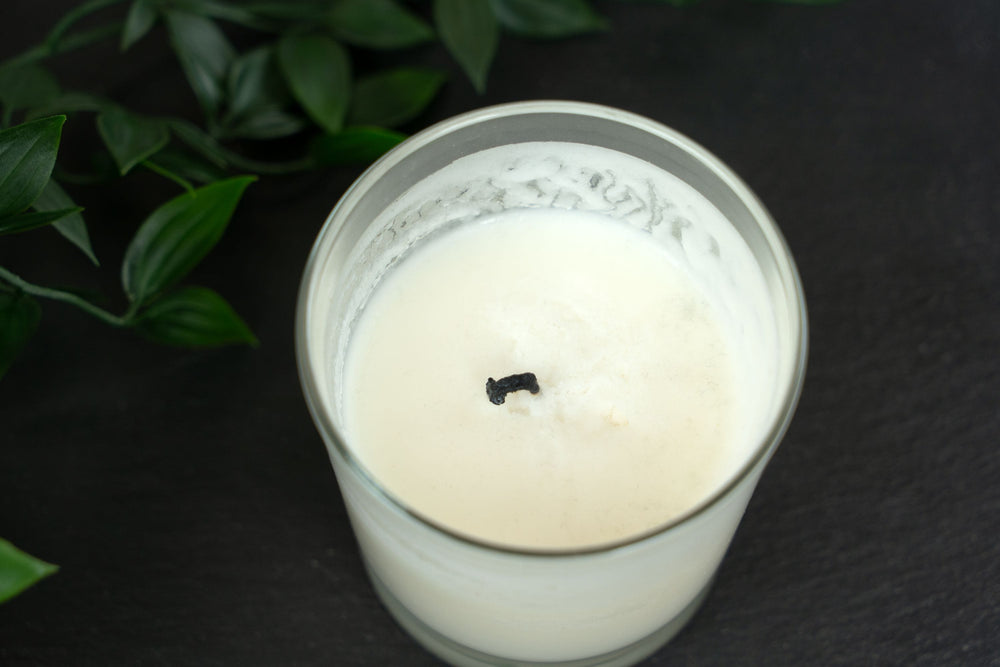
Mushrooming
Clubbing, or “mushrooming” as it is referred to in extreme cases, is caused by incomplete combustion of the wax and fragrance oil. This can occur when too much fuel is being delivered to the wick compared to the amount of oxygen being supplied, leading to the formation of carbon deposits on the wick.
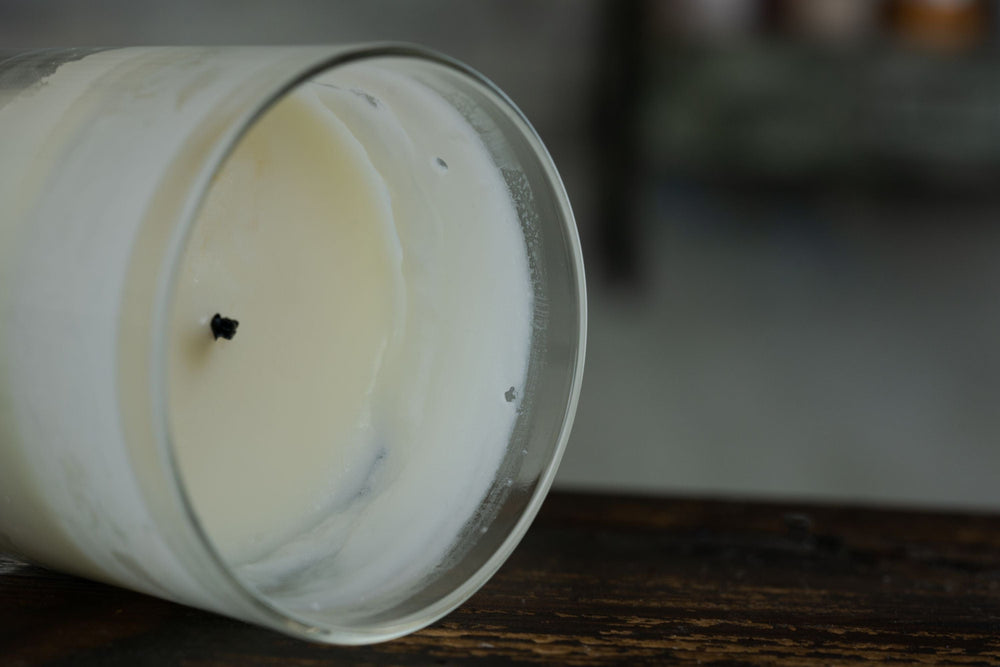
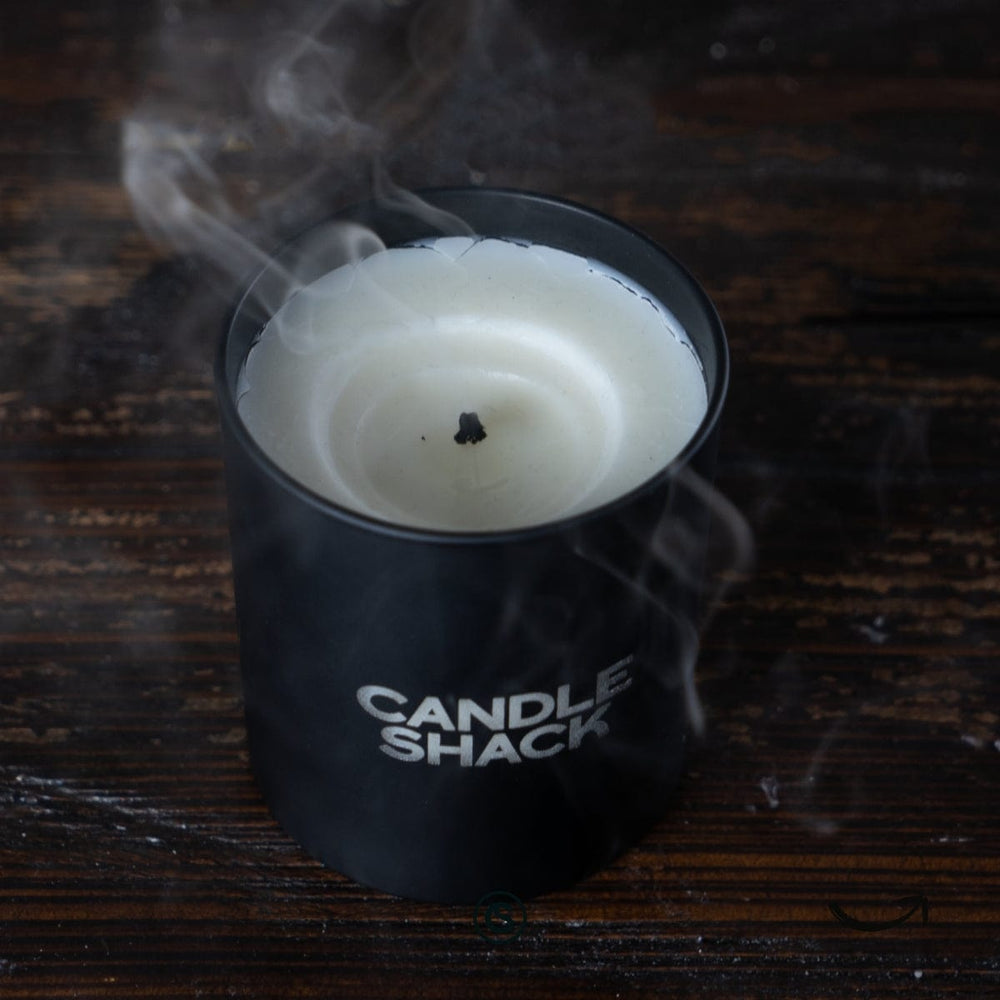
Aftersmoke
When the candle is extinguished, the wick can continue to smoulder, especially if there are carbon deposits present, which are often seen as a "mushrooming" at the tip of the wick. This smouldering is the result of the wick consuming the remaining combustible materials in its vicinity, even without an active flame. This produces the visible smoke known as aftersmoke.
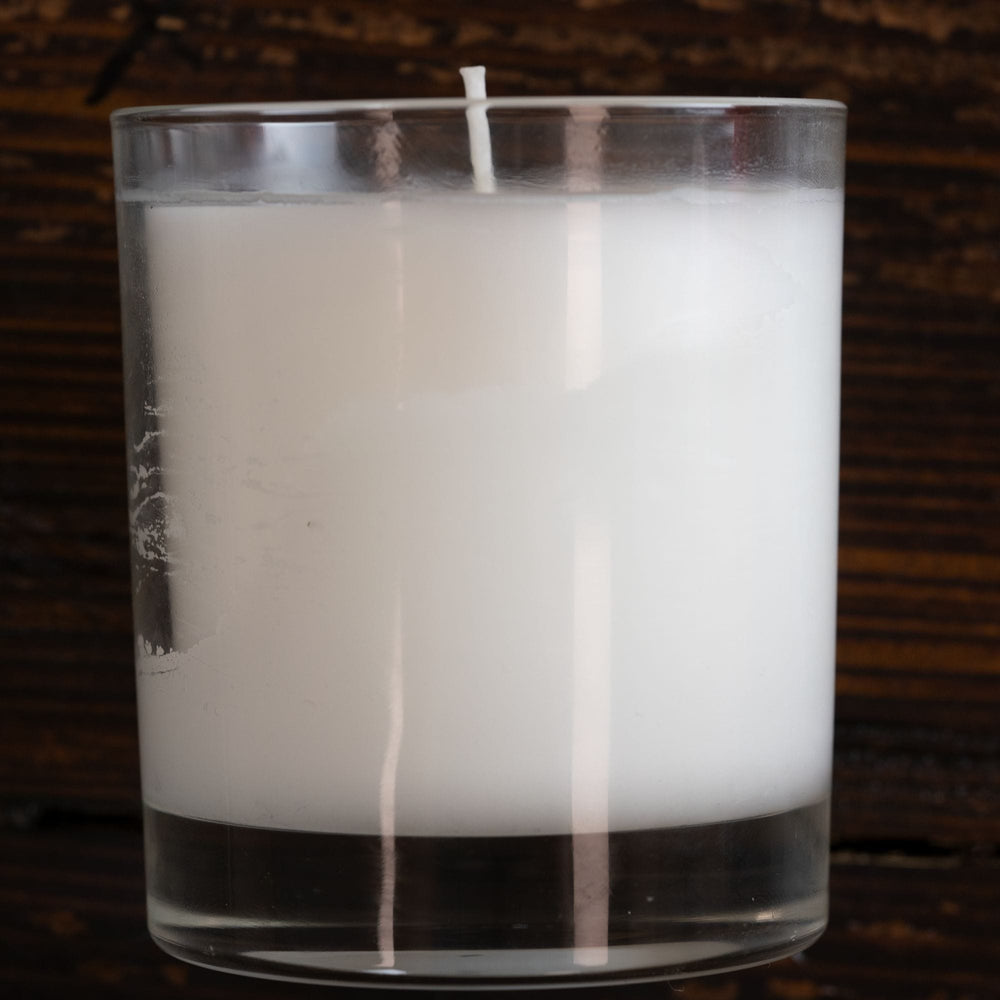
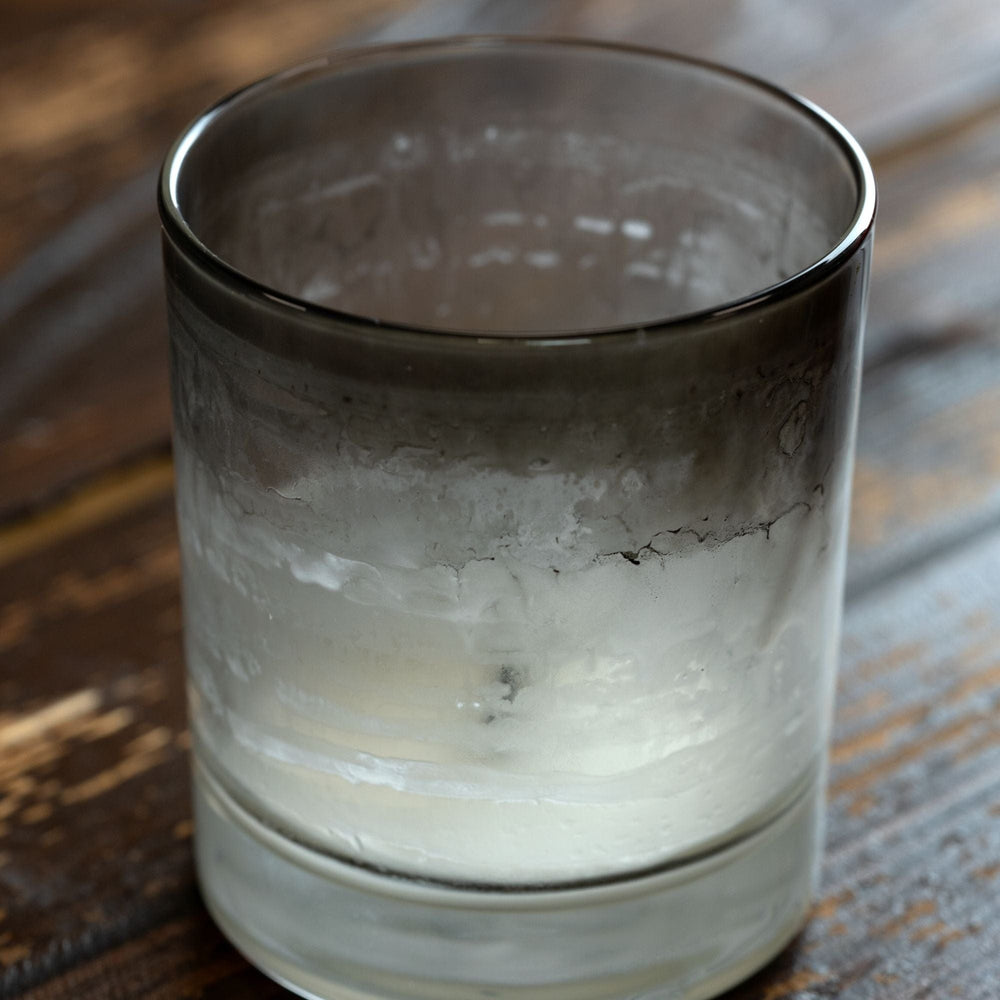
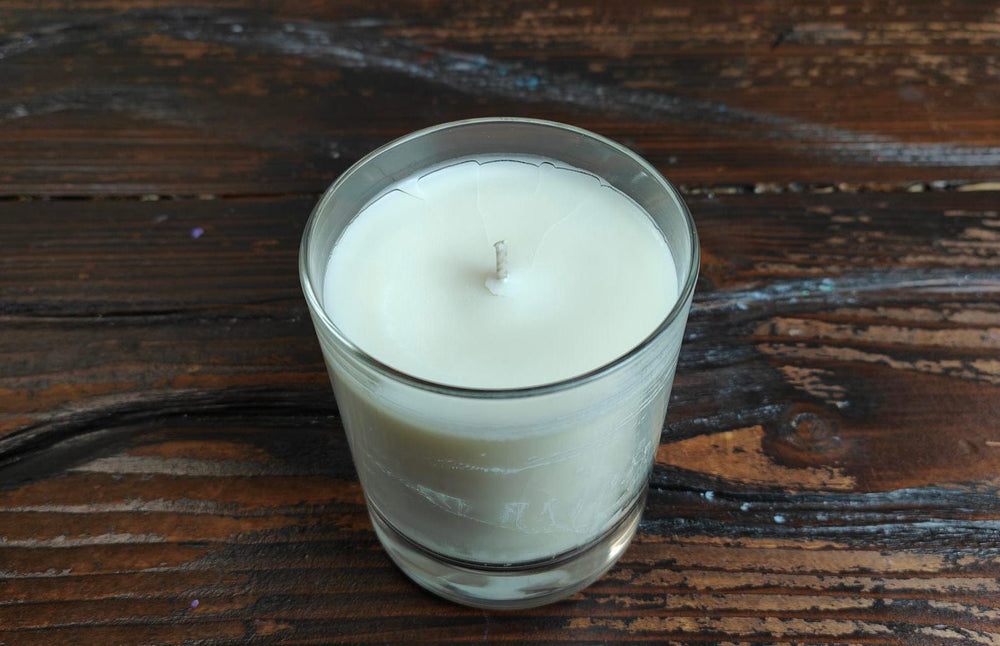
Small Melt Pools
A melt pool is the circular pool of melted wax that forms around the wick on the surface of the candle as it burns. If the melt pool doesn’t reach the edge of the container and doesn’t get any larger regardless of how long the candle burns, the candle would be considered to have a small melt pool.
Reasons Why a Candle Flame Might Go Out and How to Prevent It
To understand why a flame goes out, we must first know how to maintain a stable flame. A flame requires three essential ingredients, known as the fire triangle: fuel, oxygen, and heat. If any of these elements are missing or if the balance is disrupted, the flame will go out.